TAIKO THUNDER Development Blog — Part 2: The Hitting Position Control

In this second blog post, we do a deep dive into the function that truly sets TAIKO THUNDER: The Ultimate Collection apart: the Hitting Position control.
Reproducing sound variations at different hitting positions

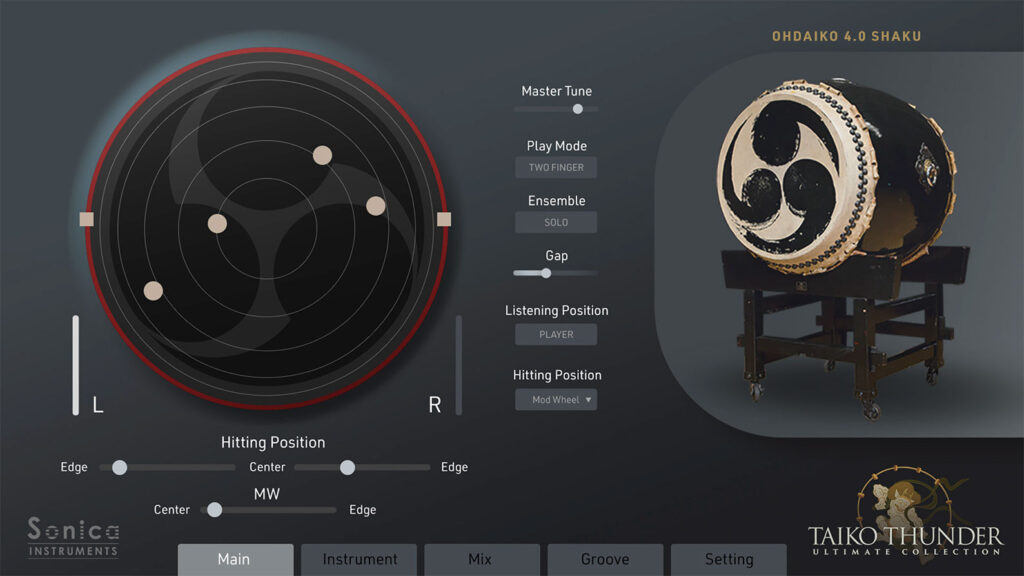
Please note that as the product is still in development, the UI design and layout in the final official release will differ somewhat from this screenshot.
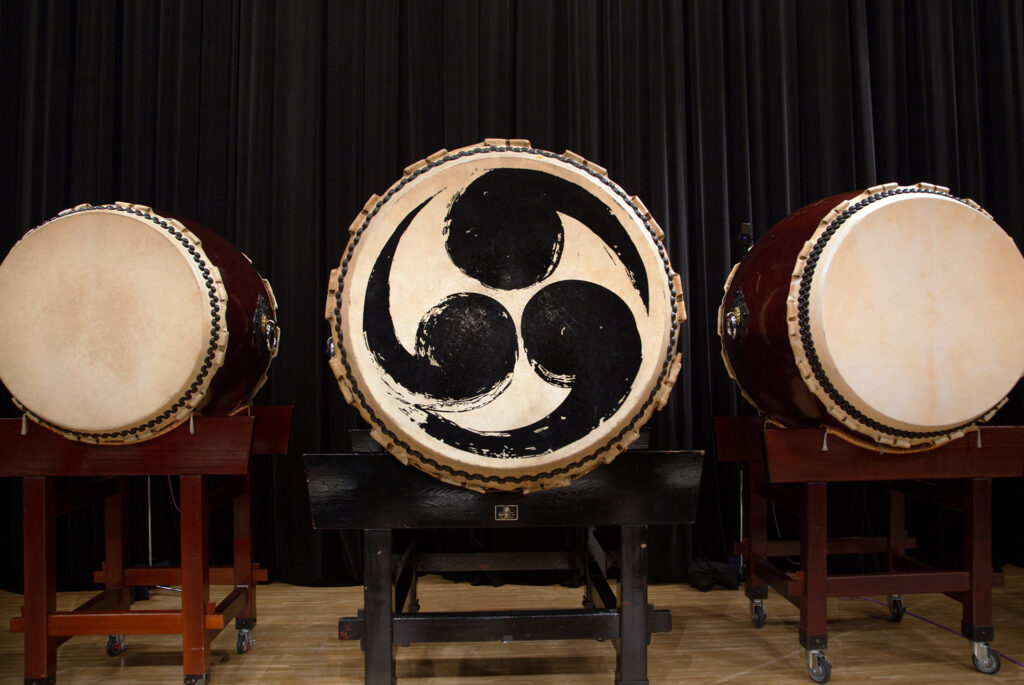
As with any drum, taiko instruments produce sound when the skin stretched over the head is struck with a bachi or stick. The volume and timbre of the sound changes depending on where the bachi hits the head.
You usually want to hit the taiko in the center to get the loudest sound and richest resonance. Performers, however, often deliberately strike the head in other spots, instead of always hitting in the dead center, to create different musical expressions by modulating the tonality and volume.
The goal of TAIKO THUNDER is to be as realistic as possible. So we decided early on to design the library to reproduce the hitting-position sound variations as well as strong/weak variations.
To do this, we divided the head into as many as 19 hitting positions — nine on the right hand side, nine on the left hand side, and the center. We sampled the performers hitting the taiko instruments in all 19 positions. From there, we developed the Hitting Position control to play back the proper sample for each position in real time.
To illustrate the difference the function makes, we made two files with the exact same MIDI data with Ohdaiko 4.0 as the sound source. The first file does not use the Hitting Position control, while the second varies the hit position with the control.
Sound without using the Hitting Position control
Sound when varying the hit position with the control
As you can hear, as the hit position moves from the center toward the rim, the sound gets quieter while the harmonic overtones change. These files clearly demonstrate that varying the hitting position makes a huge difference in how realistic the taiko sounds.
The larger the taiko’s drumhead, the more pronounced the sound variations are and the easier they are to hear.
Controlling the hitting position

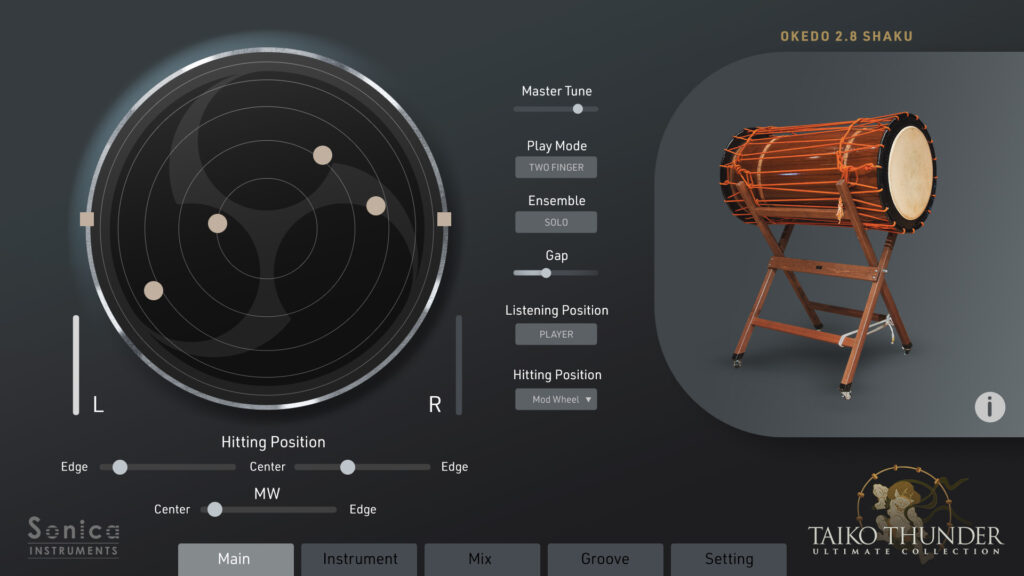
Please note that as the product is still in development, the UI design and layout in the final official release will differ somewhat from this screenshot.
The most time-consuming part was designing the UI for the Hitting Position control. Since this is a sample library, theoretically all we had to do was sample hits at each position. (In practice, this is much harder than it might seem, since hitting the drumhead consistently in 19 separate positions requires a tremendous amount of skill and technique from the performers.)
The best UI approach — in terms of usability and ease of entering hitting positions — depends on how the user enters data — e.g., using a MIDI keyboard or MIDI pads to enter hits, or entering each note on the piano roll.
This is why we added three different play modes so users can interact with TAIKO THUNDER in the way that best suits their workflow. The next blog post will go into this in more detail, but the design allows the user to switch intuitively between hitting positions with either key switches or MIDI CC messages.
In addition, the main screen has been designed to show the hitting position in real time for convenient visual confirmation of the sound variations.
Stay tuned for our next blog post that will explain the TAIKO THUNDER’s three play modes.
